Only one month after launching as an optional public beta, the new ESPHome Device Builder has become the default way to manage ESPHome devices. With ESPHome 2026.6.0, the legacy dashboard has been retired and Device Builder has reached version 1.0.
The new interface aims to make ESPHome more approachable without sacrificing the configurability that made it so useful in the first place.
Our experience shows that Device Builder is a major improvement, but it is not yet a complete replacement for understanding YAML. For more advanced devices and unusual hardware, users will still need knowledge of ESPHome configuration and the hardware they are working with.
Table of Contents
What is the ESPHome Device Builder?
Device Builder is a complete UI replacement for the previous ESPHome dashboard.
The old dashboard primarily provided a list of devices, an editor and buttons for compiling, installing and viewing logs.
The new interface treats each configuration as a collection of separate objects.
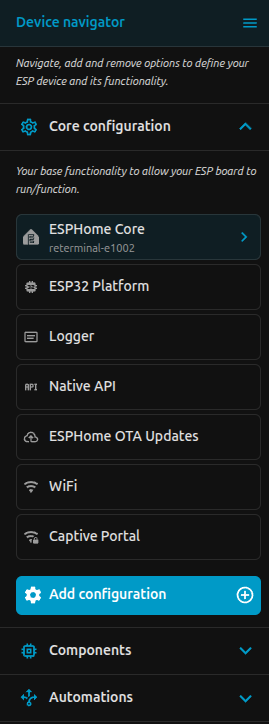
When editing a device, you now have:
- A device navigator containing core settings, components and automations
- Visual forms for configuring supported components
- A full YAML editor showing the underlying configuration
- Board and GPIO information
- Build history and installation jobs
- Device labels, areas and filtering
Instead of starting with a blank text file, users can browse a catalogue, choose a component and complete its settings through a guided form.
The YAML is still there, but it is no longer the only way to understand what has been added to a device.
The biggest improvements
The most noticeable change is the visual configuration system, but Device Builder introduces several improvements that matter even if you prefer to work directly in YAML.
Visual component configuration
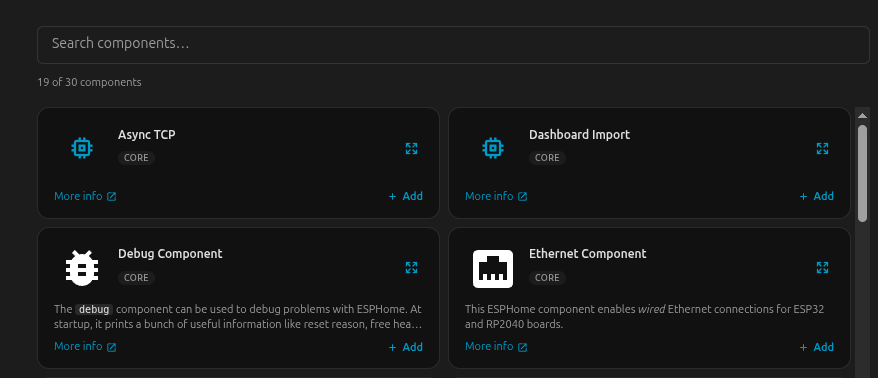
Components are now available through a searchable catalogue. You can select a platform, sensor, display, communication bus or service and complete its options through a form.
For common devices and basic configuration this removes a lot of the inital friction. A user can add Wi-Fi, the Home Assistant API, OTA updates, a sensor and a button without ever having to touch YAML directly.
Visual automation building
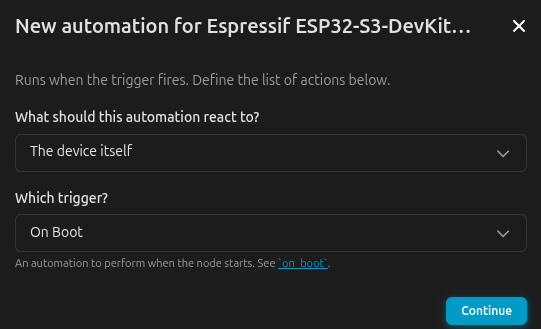
Automations can be assembled by selecting:
- What the automation reacts to
- The trigger
- Optional conditions
- The actions to perform
This is particularly useful for basic automations such as reacting to a button press, updating a display or controlling an output.
The visual builder also makes the structure of an automation easier to understand. More complex logic can still be edited directly in YAML.
A proper build queue
Compiles, installs and clean operations are now treated as jobs.
Each job has progress, history and cancellation controls. This is much clearer than the old approach, where one operation would take over the dashboard until it had finished.
For anyone managing multiple ESPHome devices, this is one of the most practical upgrades.
Device Builder can also offload jobs to another paired builder, allowing a more powerful machine to handle compilation remotely.
Better organisation

Devices can now be assigned:
- Friendly names
- Areas
- Searchable labels
The dashboard supports card and table views, configurable columns, filters and multi-select actions.
This will not matter much to someone with two ESPHome devices, but it becomes extremely useful once an installation grows.
Better configuration diagnostics
The new dashboard can identify more than whether a device has an update available.
It can detect mismatches involving:
- ESPHome version
- Configuration hash
- Encryption state
There is also a YAML diff view, cross-configuration search and a command palette.
Testing Device Builder With a Real Display
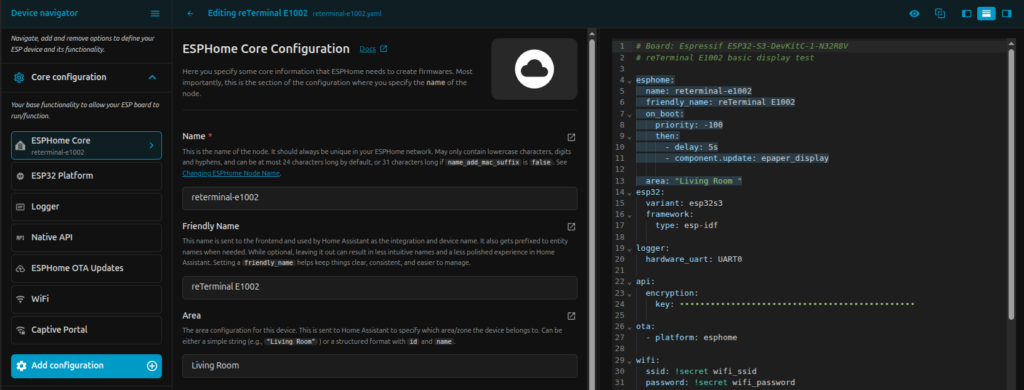
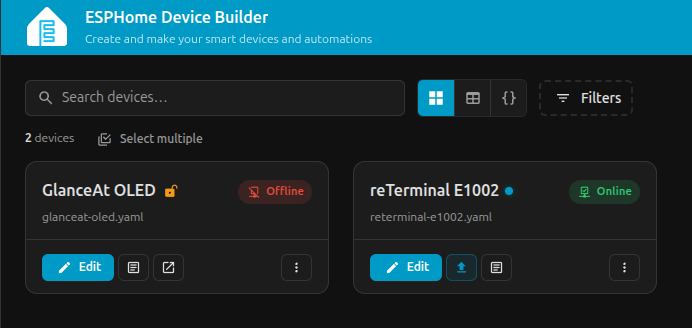
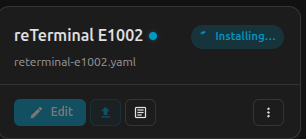
To test the new workflow, we created an ESPHome configuration for the Seeed Studio reTerminal E1002.
This was a useful test because the project required more than a basic sensor configuration. It involved selecting the correct ESP32-S3 board, setting up Wi-Fi, Home Assistant connectivity and OTA updates, then adding an SPI bus, font and model-specific display component.
The Device Builder handled the core setup well, however the test did highligh some of the limits of the visual editor.
Some component forms do not yet expose every required setting. In our case, the SPI configuration still needed to be completed manually in YAML. Custom display layouts also continue to rely on ESPHome display code, because Device Builder is not a drag-and-drop screen designer.
It can help configure the board, display driver, pins, fonts and data sources, but the final positioning of text, icons and graphics is still created in YAML. So while the Device Builder helped with the core configuration, any advanced configuration was easier to code with direct access to the YAML.
What We Think of the New Device Builder

Device Builder is already a stronger interface than the legacy ESPHome dashboard.
It is easier to navigate, clearer for new users and much better suited to managing multiple devices, updates and firmware jobs. The visual component and automation tools reduce the amount of YAML needed for common configurations, while the built-in YAML editor preserves the flexibility required for more advanced projects.
The best approach is to use both. Start with the visual tools where they work well, inspect the generated configuration, and switch to YAML whenever a setting is missing or the project requires custom logic.
Device Builder still has some rough edges, particularly around more specialised hardware, but its direction is clear and we think going to make ESPHome much more accessible in the future.
Interested in trying ESPHome for yourself?
Start with an ESP32-S3 development board, try a dedicated ePaper display, or explore the Seeed Studio reTerminal E1002 for a more complete display project.