
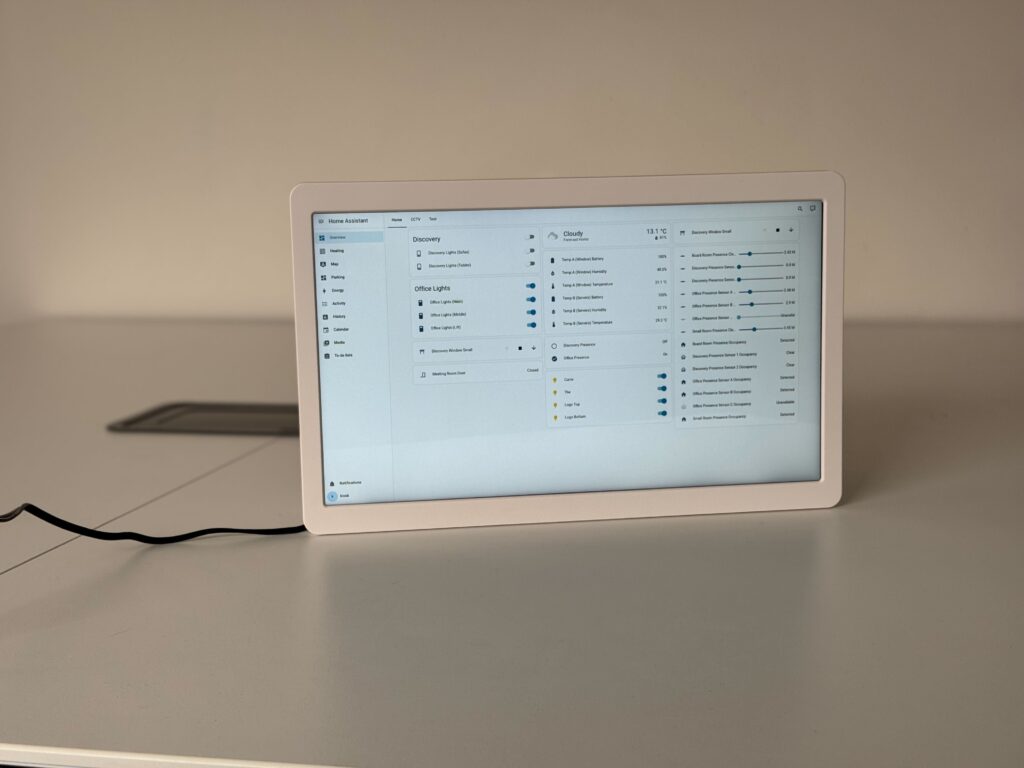
This guide walks you through converting an Android panel into a reliable, single-purpose smart home display.
By the end, your device will:
- Boot directly into your Home Assistant dashboard
- Be locked into a clean kiosk interface
- Recover automatically after power loss
- Be controllable from Home Assistant (screen, brightness, reload, etc.)
This setup is designed to be stable, repeatable, and suitable for rentals or permanent installs.
Table of Contents
What you need
- An Android wall panel/tablet, we are modelling this guide off this device.
- Reliable power (permanent USB/5V/12V as appropriate) and a stable mount (to avoid intermittent power cycling).
- Working Home Assistant instance
Installing Fully Kiosk Browser
To turn your screen into a Home Assistant Dashboard we recommend using an app called:
Fully Kiosk Browser
This app allows you to lock the device to a single interface and either with a watermark or paying a 1 time free for a license, control it remotely.
There are two ways to install it — either via the Google Play Store or download the APK file (this avoids signing in with your google account)
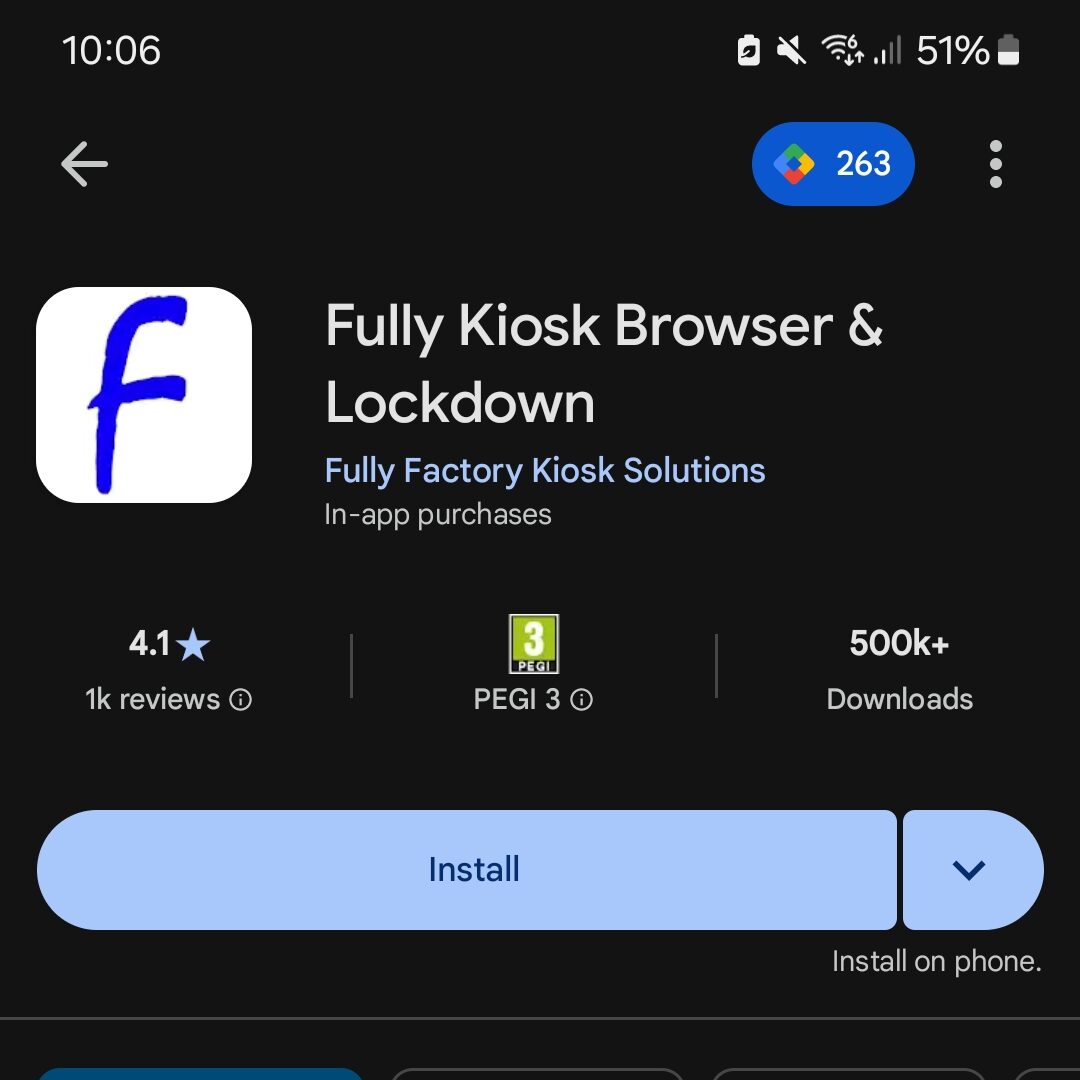
Option 1 — Install via Google Play Store (Recommended)
This is the simplest method for most users.
- Open the Google Play Store on your device
- Search for “Fully Kiosk Browser”
- Install the app
Once installed, open the app and continue below.
Option 2 — Install via APK (Advanced / No Play Store)
This method avoids signing into a Google account.

- Open a browser on the device.
- Go to the official Fully Kiosk website at: https://www.fully-kiosk.com
- Click Get Apps
- Click “Get APK file” under the Fully Kiosk Browser option.
- Look for the download link and download Fully Kiosk Browser APK (regular edition)
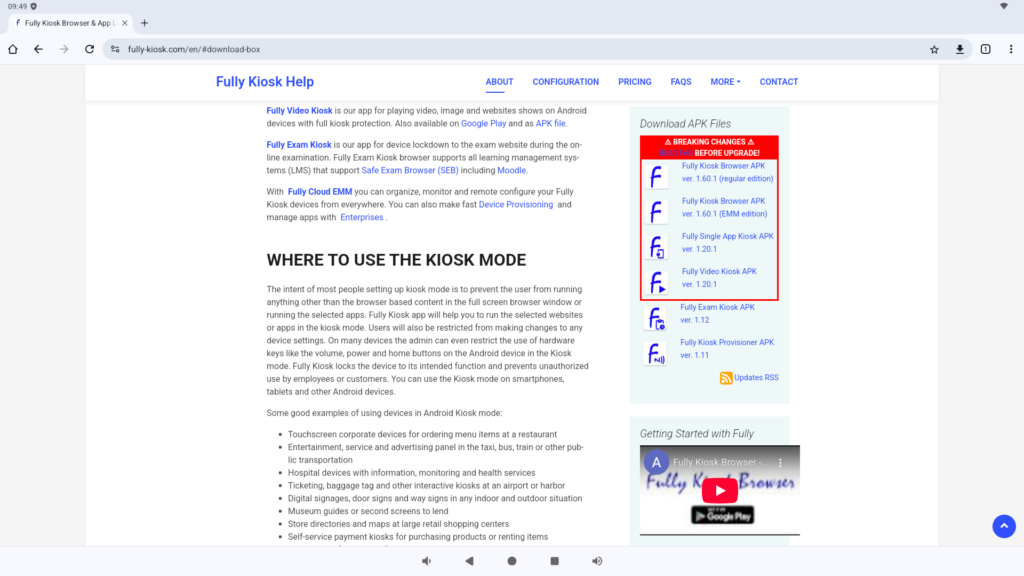
You may need to enable:
→ “Install unknown apps” in your device settings
Initial Setup
Kiosk User
For a cleaner and more secure setup, create a dedicated Home Assistant user.
Benefits:
- Restrict access to a single dashboard
- Prevent accidental changes
- Improve reliability in shared/rental environments
This step is optional, but strongly recommended.
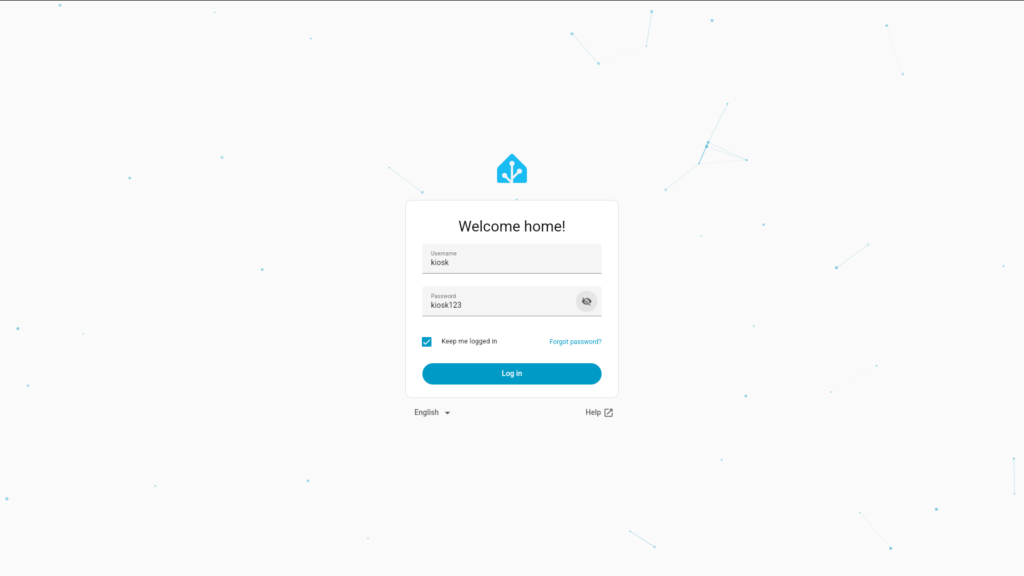
Login
- When you open fully kiosk browser, it will ask for a Start URL this is your Home Assistant dashboard URL:
https://your_ha_address/lovelace/default-view - Make sure to leave fullscreen mode enabled.
- Once the dashboard loads, log in using your Home Assistant account (Kiosk user if setup)
Settings
Open Settings (swipe from the left of the screen).
Go to Device Management, and enable “Launch on Boot“
This ensures the panel recovers automatically after power loss.
Plus Features (Optional)
Fully Kiosk includes some advanced features that either leave a watermark or require a one-time PLUS license. These are not required for any of the previous setup, but enable more advanced control.
Kiosk Mode
Go back to Settings, head to Kiosk Mode (PLUS), enable it.
Importantly, make sure to select a Kiosk Exit Gesture and Pin, the default Pin is 1234.
All of the other settings can be enabled at your discretion.
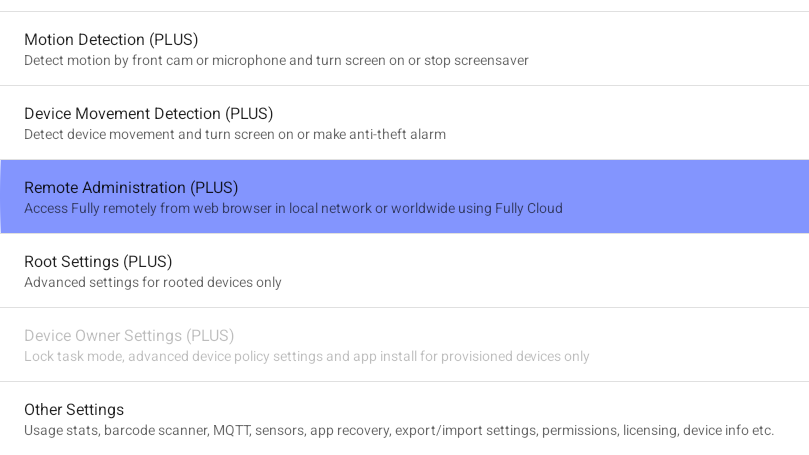
Remote Admin
Again to Settings, and head to Remote Administration (Plus), enable Remote Administration and make sure Remote Admin from Local Network is enabled.
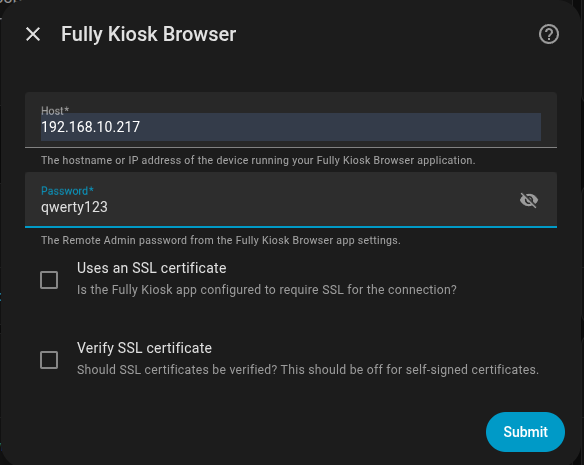
If you go to back to your Home Assistant dashboard on any other device and go to
Settings -> Devices & Services -> Add Integration -> Search for Fully Kiosk Browser.
It will ask you for Host and Password, the host is the IP address listed under Remote Admin from Local Network, you need to enter it without https: or the port, just the IP address. The password will be available to set under remote admin password, you must set one for this to work.
What you can do in HA now
Once connected, your panel becomes a controllable device.
You can:
- Turn screen on/off
- Adjust brightness
- Reload dashboard
- Lock/unlock kiosk mode
- Display messages or alerts
- Trigger actions via automations
- This allows full integration into your smart home.
FAQ
Do I need a Google account on the panel?
No. Fully provides APK files and explicitly supports installation from APK; Android requires enabling “install unknown apps” (per-app) to do that.
Which Fully app should I install for a Home Assistant wall dashboard?
Use Fully Kiosk Browser for web dashboards; Fully describes Single App Kiosk as locking to one app and Video Kiosk as playlist signage.
Should I use regular or EMM edition?
Regular edition is the standard choice for typical kiosk use; EMM edition is required for certain enterprise/“Enterprises” features and is recommended by Fully for those workflows.
Do I have to buy a Fully PLUS license to use Home Assistant control?
Yes for the Home Assistant integration: Home Assistant’s docs say Remote Admin is required and that requires a paid Fully PLUS license (trial is possible but watermark appears).
Can I run Fully Remote Admin over HTTPS?
Yes. Fully documents enabling HTTPS by placing a valid certificate file on the device and then usinghttps://...:2323.
Why does Home Assistant’s setup screen ask about SSL and verifying certificates?
Because the integration can connect to Fully Remote Admin using HTTP or HTTPS, and verification should typically be off for self-signed certificates.
Can I export one panel’s Fully settings and import to other rentals?
Yes. Fully supports export/import of settings as JSON and documents both in its app/manual and in Fully Cloud guidance.
Credits/Links
- Home Assistant – Fully Kiosk Brower: https://www.home-assistant.io/integrations/fully_kiosk/
- Fully Kiosk Single License: https://license.fully-kiosk.com/license/single
- Fully Kiosk Download Box: https://www.fully-kiosk.com/en/#download-box
- Device used in our setup: https://smarthomeshopuk.com/products/wall-mounted-smart-home-control-panel-android-12