
In this post, we take a detailed look at how to take full control of your Home Assistant dashboard. You’ll learn not only how to customise the layout, but also how to make your setup genuinely useful for day-to-day smart home management. We’ll walk through the basics of creating and organising views, adding new cards, and choosing the right card types for different kinds of devices. We’ll also cover how to structure your dashboard so it stays clean, fast, and easy to navigate as your smart home grows.
Table of Contents
Prerequisites
Before starting, ensure that:
- Home Assistant is running on your system.
- You have access to the Home Assistant dashboard.
Setup
Enter Manual Configuration
- Open Home Assistant on your web browser and navigate to your dashboard (found under Overview).
- Click on the three-dots in the upper right corner of the dashboard.
- Select Edit Dashboard.
- Click the Take Control button.
By taking control, Home Assistant will no longer automatically update the dashboard with new devices. This means you will need to manually update it, but it allows for greater customization and control.
Creating and Managing Views
1. While in “Edit Dashboard” mode, click the + button next to Home to create a new view.

2. Give your view a name and choose an icon to represent it.
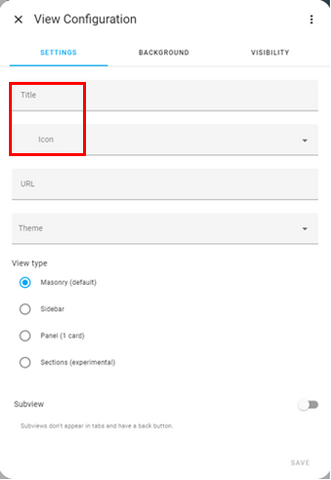
3. You can also add backgrounds, change the view type and restrict access to other users.
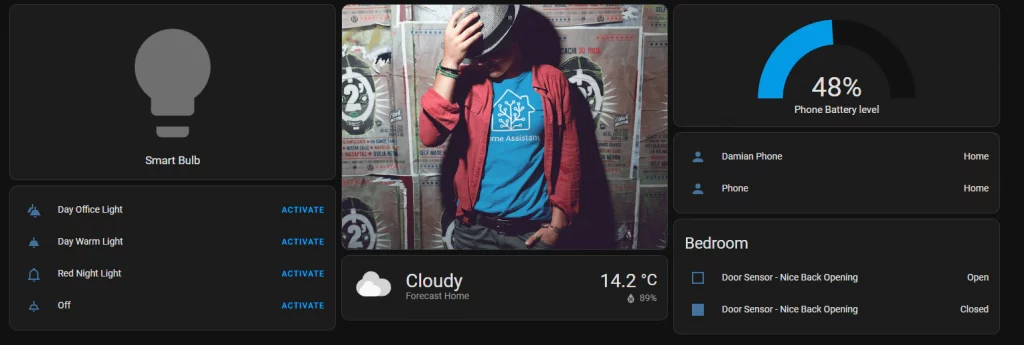
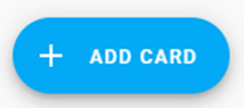
Adding Cards to Your View
1. In “Edit Dashboard” mode, click the + Add Card button.
2. Choose a card type (e.g., Button, Entity, Gauge).
3. Configure the card by selecting the entities to manage as well as selecting.
Card Management:
- Arrange: Change the position of the card by adjusting the number.
- Edit: Press the Edit button to change the card’s features.
- Delete: Click the three dots, then the trash bin icon on the card to remove it.